For many people, the sharp discomfort felt with the first steps out of bed is the unmistakable sign of plantar fasciitis. This common condition affects millions, making ordinary walking and standing a painful challenge. While rest, stretching, and supportive footwear are key to recovery, one of the simplest ways to find quick relief is through foot taping.
In this guide, we’ll explore how to tape foot for plantar fasciitis, why it works, and detailed instructions for the two most effective taping methods.
What is Plantar Fasciitis and Why Does Taping Help?
The plantar fascia is a thick band of connective tissue running from the heel bone to the base of the toes. It supports the arch of the foot and acts as a natural shock absorber. When overused or overstretched, it can develop irritation or small tears, leading to the stabbing heel pain that defines plantar fasciitis.
Taping works because it provides external support for this overworked tissue. When tape is applied properly, it:
- Reduces Stress: By lifting and supporting the arch, tape decreases the strain placed on the plantar fascia.
- Limits Excess Motion: Restricting sudden or extreme foot movements prevents further irritation.
- Boosts Circulation: Certain methods, like kinesiology taping, gently lift the skin, improving blood flow and reducing swelling.
For those struggling with heel pain, learning how to tape foot for plantar fasciitis can make a noticeable difference in daily comfort.
Popular Taping Methods for Plantar Fasciitis
There are many ways to tape the foot, but two methods stand out for being effective, practical, and widely recommended: the Low-Dye Method and the Kinesiology Tape Method.
1. Low-Dye Taping (Rigid Support)
This method is commonly used by physical therapists and sports trainers. It relies on rigid athletic tape to create strong support under the arch.
What you need: 1.5-inch athletic tape, scissors
Step-by-step:
- Start with a clean, dry foot. Apply pre-wrap if you have sensitive skin.
- Place an anchor strip horizontally across the ball of your foot, just behind the toes.
- From the heel, apply vertical strips toward the toes, overlapping each by 50% until the arch is covered.
- Add horizontal “lock strips” across the arch and one around the heel to secure.
Pros: Provides firm support, great for sports or long-standing periods.
Cons: Can feel restrictive and should not be worn for extended periods.
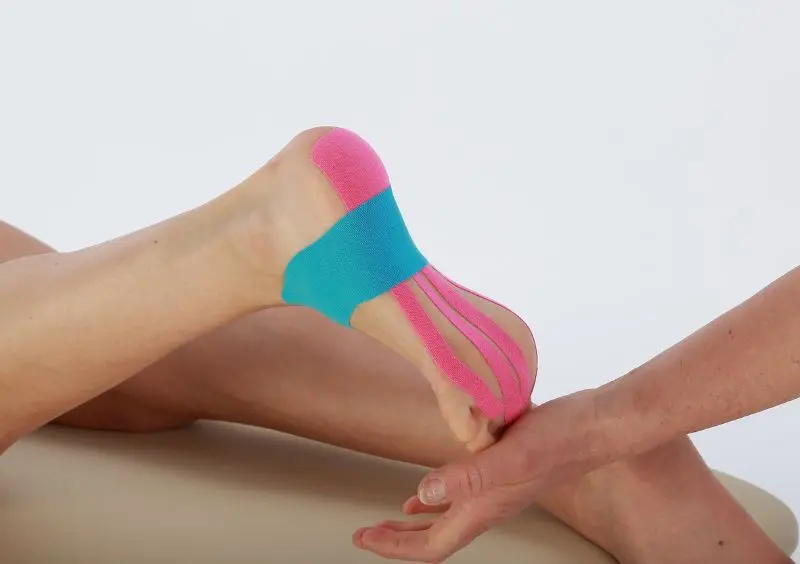
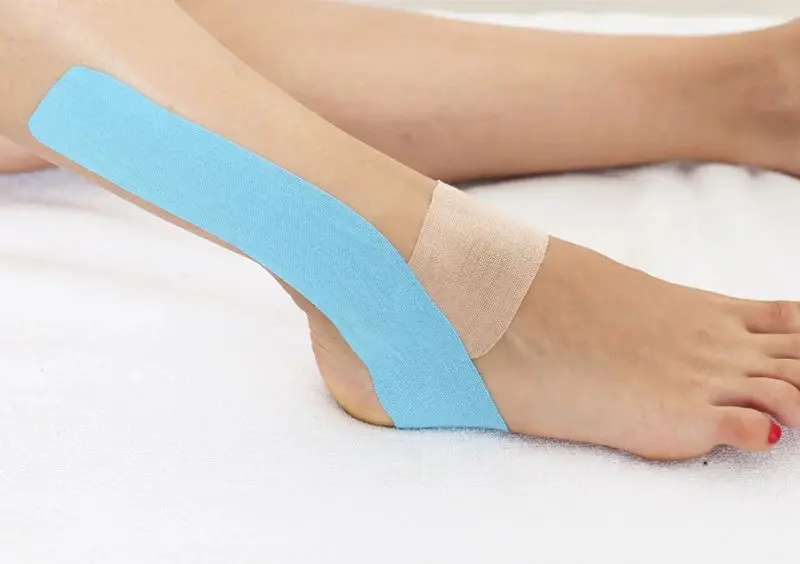
2. Kinesiology Tape Method (Flexible Support)
K-tape is designed to move with your foot, mimicking the elasticity of skin and muscle. It offers support without limiting range of motion.
What you need: Kinesiology tape, scissors
Step-by-step:
- Clean and dry the foot.
- Cut a long strip of tape into a “Y” shape. Place the base of the “Y” on the heel. Wrap the two arms of the “Y” with light tension along each side of the arch.
- Place a small horizontal strip across the arch for extra stability.
Pros: Comfortable, can stay on for several days, even in the shower.
Cons: Less rigid than Low-Dye taping, so not ideal for heavy physical activity.
Key Tips and Mistakes to Avoid
Even if you know how to tape foot for plantar fasciitis, poor technique can do more harm than good. Keep these in mind:
- Don’t tape too tightly—it can cut off circulation, causing numbness or swelling.
- Always apply to clean, dry skin—otherwise the tape won’t stick properly.
- Choose the right tape—rigid tape for strong support, kinesiology tape for flexible daily wear.
When to Seek Professional Help
Taping can provide temporary relief, but it is not a cure. You should see a doctor or physical therapist if:
- Your pain continues for weeks despite self-care.
- Swelling, discoloration, or numbness develops.
- You’re unsure if plantar fasciitis is the true cause of your pain.
Combine Taping with Other Remedies
Taping is most effective when paired with other treatments. To improve recovery and prevent recurrence:
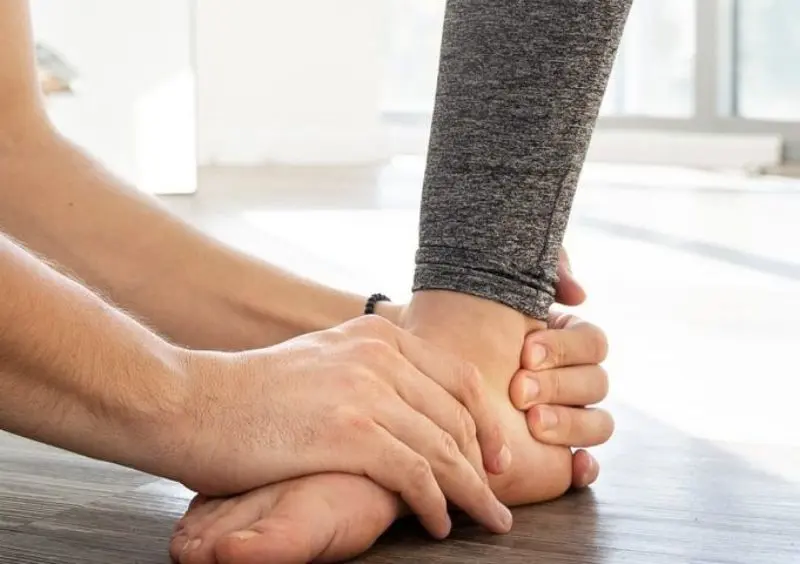
- Stretch daily: Gentle calf and plantar fascia stretches improve flexibility.
- Wear supportive footwear: Shoes with strong arch support and cushioned soles are essential.
- Use cold therapy: Ice your heel for 15–20 minutes after activity.
- Rest your feet: Avoid overuse, especially after intense exercise.
Conclusion
If you’re battling sharp heel pain, learning how to tape foot for plantar fasciitis can provide immediate relief and valuable support throughout your day. Whether you prefer the firm stability of Low-Dye taping or the flexible comfort of kinesiology tape, consistent use can help reduce strain on the plantar fascia and ease your recovery.
Taping works best as part of a complete care plan that includes stretching, supportive shoes, and rest. With the right approach, you can manage plantar fasciitis more effectively and get back to moving comfortably.